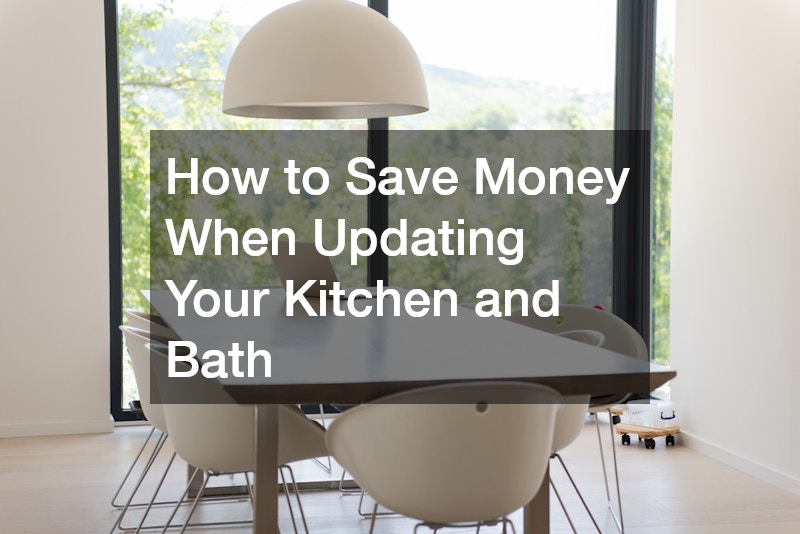
Kitchens and bathrooms are the undisputed financial heavyweights of home improvement. They deliver the highest return on investment, enhance daily quality of life, and serve as primary selling points for prospective buyers. However, they are also the most complex and expensive spaces to renovate. With plumbing, electrical, tile work, cabinetry, and specialized surfaces squeezed into tight footprints, labor and material costs can surge past a modest budget before a single nail is pulled.
The secret to a successful kitchen or bath update on a budget is not cutting corners on installation or buying cheap, flimsy materials that deteriorate in a few years. Instead, it requires smart, strategic planning. By preserving original floor plans, refinishing sound structures, mixing luxury accents with cost-effective primary surfaces, and hiring certified trade specialists for complex mechanical tasks, you can achieve a high-end look without a high-end price tag.
This guide provides an in-depth framework to help you navigate trade hiring, material selection, surface refinishing, and design choices, ensuring your renovation stays beautiful, functional, and financially grounded.
Phase 1: Planning, Layout, and Trade Labor Logistics

Keep Your Existing Footprint to Protect Your Budget
The fastest way to double or triple the cost of a kitchen or bath renovation is to start moving walls, drains, gas lines, and supply pipes. Keeping your existing structural layout intact leaves your home’s core infrastructure where it is, allowing every dollar you spend to go toward visible updates like fresh surfaces, modern fixtures, and enhanced storage.
Relocating major utilities involves hidden costs that do not show up on surface-level aesthetic estimates:
- Subfloor Demolition and Framing: Rerouting a three-inch soil stack or moving a drain line requires cutting through subflooring, floor joists, and underlying drywall ceiling cavities on lower floors.
- Permit and Inspection Fees: Structural wall removals, gas line extensions, and main electrical panel upgrades trigger additional municipal permits and mandatory multi-stage building inspections.
- Plumbing and Gas Line Rerouting: Extending hot and cold supply lines, vent pipes, and gas feeds through existing wall studs requires extensive trade labor hours.
- Electrical Upgrades: Shifting appliance positions or moving vanity locations requires fishing new wire runs through wall framing and installing additional dedicated circuit breakers.
To keep costs predictable, design your new layout within the exact spatial footprint of the old one. If your kitchen layout feels cramped, consider opening up wall space with open shelving or altering cabinet depth profiles rather than knocking down load-bearing walls.
Hire Qualified Specialists for Complex Mechanical Work
While cosmetic updates like painting, hardware installation, and simple tile backsplashes are great candidate projects for confident DIY enthusiasts, wet-area construction and utility work demand professional expertise. Attempting complex plumbing, waterproofing, or electrical work without proper training risks severe water leaks, structural rot, and electrical hazards that cost far more to fix than hiring a pro from the start.
When planning your renovation schedule, partner with a certified local plumber to inspect existing supply lines, verify drainage slope, update hidden shut-off valves, and install new fixtures to code. Licensed tradespeople catch corrosion, pressure issues, and outdated piping materials before you close up walls or lay expensive new subflooring over bad infrastructure.
For major bathroom overhauls involving heavy wet-area waterproofing, subfloor leveling, and custom shower pan builds, rely on seasoned bathroom remodelers. Qualified professionals carry comprehensive liability insurance, provide itemized labor and material estimates, and ensure that underlying waterproofing systems comply strictly with local building codes, protecting your property investment for decades.
Phase 2: Cabinetry and Storage Upgrades
Refresh Storage Frameworks Without Full Replacement Costs
Cabinetry typically accounts for 30% to 50% of a total kitchen or bath renovation budget. Full custom cabinetry carries steep price tags due to raw lumber expenses, custom shop labor, and complete tear-out overhead. Fortunately, if your existing cabinet boxes are built from sturdy plywood or solid hardwood and possess a functional layout, you rarely need to tear them out to achieve a brand-new aesthetic.
Evaluate these cost-effective alternatives to full cabinet replacement:
- Cabinet Refinishing: Sanding, priming, and spraying existing boxes and doors with high-durability conversion varnish or enamel paint provides a smooth, factory-fresh finish at a fraction of replacement costs.
- Cabinet Refacing: Retaining original solid cabinet boxes while replacing only the exterior doors, drawer fronts, hinges, and decorative side veneers gives the visual appearance of brand-new custom cabinetry.
- Modifying Box Configurations: Converting lower cabinet shelves into deep pull-out drawers or adding vertical divider trays maximizes internal storage without changing the overall cabinetry footprint.
- Hardware Upgrades: Replacing dated cabinet pulls and hinges with modern brushed brass, matte black, or soft-close hardware instantly elevates the visual feel of existing doors.
To ensure your refinished cabinetry withstands kitchen grease, steam, and daily handling, utilize a professional cabinet service. Commercial refinishers use dustless sanding systems, specialized spray booths, and industrial-grade coatings that cure to a hard, durable finish that standard latex wall paint cannot match.
Optimize Layout and Ergonomics Efficiently
If your existing cabinets are structurally unsound, water-damaged, or poorly configured, complete replacement may be necessary. However, you do not need to order full custom cabinetry to achieve a tailored, high-end look. Modern stock and semi-custom cabinet lines offer exceptional build quality, soft-close hardware, and versatile dimensional options at a manageable price point.
Working with skilled cabinet designers allows you to configure stock and semi-custom cabinet modules into a seamless, built-in arrangement. Design professionals know how to use filler panels, crown molding trim, integrated appliance panels, and specialized pantry pull-outs to eliminate awkward gaps and maximize usable storage. Designing around standard dimensional increments reduces factory customization surcharges while delivering a polished layout tailored to your everyday cooking and storage habits.
Phase 3: Surface Selection and Countertop Savings
Strategic Countertop Shopping for Small and Large Spaces
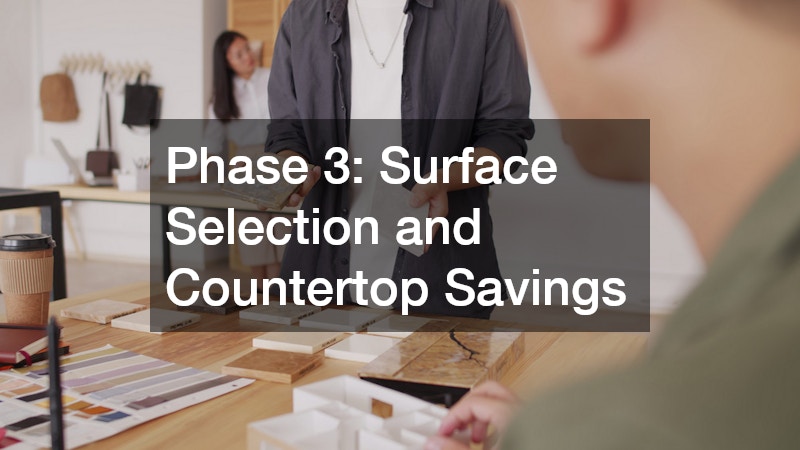
Countertops serve as both high-use work surfaces and visual focal points in kitchens and bathrooms. The key to saving money on stone surfaces is matching the material type and purchasing method to the specific size of your project.
For smaller surfaces, such as bathroom vanities, laundry tops, or kitchen islands, avoid paying for full, brand-new slabs. Visit local stone fabrication yards and ask to inspect their remnant inventory. Remnants are leftover ends from large commercial or residential jobs that fabricators sell at deep discounts. You can often secure a gorgeous piece of high-end stone for a vanity or accent surface for 50% to 70% less than ordering a full slab.
When selecting countertop surfaces, consider how material characteristics impact long-term care and upfront pricing:
- Natural Marble: Offers timeless elegance, intricate veining, and excellent heat resistance, though it requires frequent sealing and remains vulnerable to acidic etching from lemon juice, vinegar, and harsh cleaners.
- Engineered Quartz: Manufactured from natural quartz crystals and resin binders, creating a non-porous surface that resists staining, scratching, and bacteria without needing periodic sealing.
- Solid Surface: A durable, acrylic-based material featuring seamless joinery and easy repairability for minor scratches, making it ideal for budget-conscious installations.
- Butcher Block: Warm and inviting, wood countertops offer an affordable alternative for accent islands, provided they are treated with food-safe oils and kept clear of standing water.
If you love the classic look of white stone, consider placing an elegant marble counter in a low-traffic powder room or dedicated baking station where exposure to acidic foods and heavy foot traffic is minimal.
For high-use zones like primary family kitchens, install a durable quartz countertop. Engineered quartz provides the sleek look of natural stone while standing up to heavy daily use, red wine spills, and hot coffee pots without staining or requiring annual chemical sealers.
Phase 4: Flooring and Hard Surfaces
Choose Cost-Effective Flooring and Wall Materials
Kitchen and bathroom floors endure constant foot traffic, spilled liquids, dropped cookware, and frequent chemical cleaning. Selecting a floor material requires balancing moisture resistance, durability, comfort underfoot, and material cost.
Evaluate these high-performance, budget-friendly flooring options:
- Luxury Vinyl Plank and Tile (LVP/LVT): Fully waterproof, highly scratch-resistant, and comfortable underfoot, LVP accurately mimics natural wood and stone textures at a lower material cost.
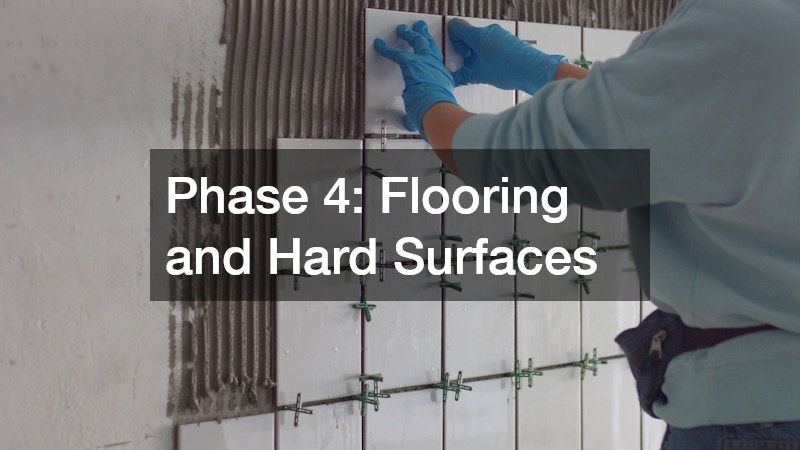
- Porcelain and Ceramic Tile: Extremely durable, dense, and water-impervious, making it a classic choice for wet areas. Large-format tiles minimize grout lines, creating a clean, modern aesthetic.
- Sheet Vinyl: Modern fiberglass-backed sheet vinyl offers seamless waterproofing across broad spaces, making it a budget-conscious option for secondary baths or utility spaces.
Proper subfloor preparation is essential when installing hard-surface flooring. Uneven subfloors lead to cracked tiles, popping grout lines, and telegraphing seams in flexible planks. Partnering with a skilled flooring contractor ensures that your subfloor is properly leveled, reinforced, and layered with appropriate waterproofing membranes or sound-dampening underlayment before final surface installation.
Use Luxury Materials as High-Impact Accents
You do not need to cover an entire room in expensive tile to create a luxurious feel. Covering every square foot of a bathroom or kitchen in full-slab stone or handmade tile rapidly drains a renovation budget and can make a space feel visually overwhelming.
A smarter budget strategy is the “high-low mix.” Use affordable, clean-lined porcelain or ceramic tile for primary wall runs and main floor areas, then allocate a portion of your budget to introduce natural stone in small, focused accent zones. Installing a natural stone herringbone backsplash behind a kitchen range or creating a stone tile niche inside a shower enclosure introduces rich texture and visual luxury without high material costs.
Phase 5: Fixtures, Refinishing, and Enclosures
Renew Existing Fixtures to Save on Replacement Costs
Replacing a heavy cast-iron or steel bathtub involves substantial labor costs. Tearing out an original tub requires removing surrounding wall tile, cutting away plumbing connections, expanding door frames, and hauling hundreds of pounds of debris down hallways. Once the old tub is gone, you must buy a new tub, rebuild the surrounding wall framing, replace the subflooring, and install new wall tile.
You can bypass this destructive process entirely if your existing tub is free from deep structural cracks. Utilizing professional bathtub resurfacing allows technicians to repair surface chips, strip away old discolored coatings, and apply a durable, high-gloss acrylic finish directly over cast iron, steel, or fiberglass in a single day. The result is a clean, factory-fresh fixture that looks brand new at a small fraction of the cost of total replacement.
Upgrade Enclosures for an Instant Luxury Aesthetic
Old, framed shower doors with frosted glass, corroded metal tracks, or plastic shower curtains instantly age a bathroom, making even clean spaces feel small, dark, and outdated. Upgrading your shower enclosure is one of the single most impactful visual improvements you can make to a bathroom space.
Replacing bulky frames with sleek custom shower glass doors transforms the visual dynamic of a bathroom. Frameless and semi-frameless tempered glass enclosures allow natural light to flow freely through the space, make small bathrooms feel larger, and showcase beautiful tile work inside the shower stall. Modern glass coatings also resist soap scum and hard water spotting, making daily cleaning fast and effortless.
Phase 6: Lighting, Hardware, and Finishing Touches
Maximize Impact With Strategic Lighting and Hardware Choices
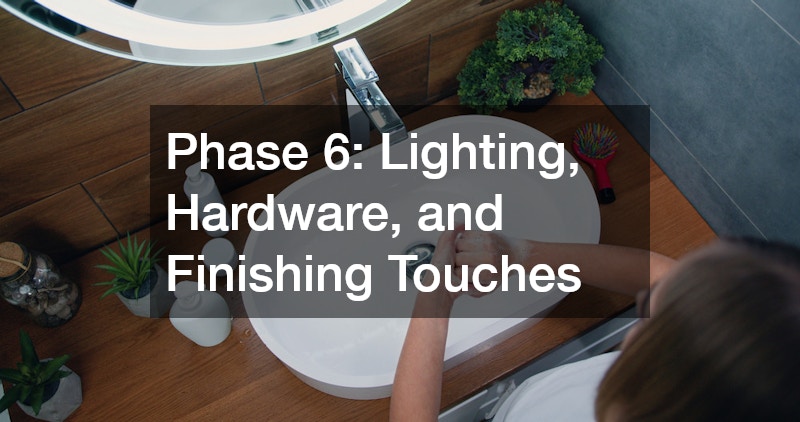
The final layer of a kitchen or bath renovation includes lighting fixtures, cabinet hardware, mirrors, and paint. These elements are relatively inexpensive compared to structural cabinetry or plumbing, but they punch far above their weight in terms of visual impact.
Implement these finishing strategies to elevate your space on a budget:
- Layered Lighting: Combine ambient overhead recessed lights with focused task lighting, such as under-cabinet LED strips in the kitchen or eye-level vanity sconces beside bathroom mirrors.
- Statement Hardware: Choose heavy, solid-metal cabinet knobs and pulls with clean finishes like brushed nickel, oil-rubbed bronze, or warm brass to add tactile quality to cabinet doors.
- Framed Mirror Accents: Replace plain, contractor-grade frameless bathroom mirrors with stylish framed mirrors that match your vanity finish or plumbing hardware.
- High-Durability Paint: Finish walls with moisture-resistant interior paint containing mold and mildew inhibitors, choosing satin or semi-gloss sheens that wipe clean easily.
By focusing on smart lighting placement, quality hardware, and durable wall finishes, you tie all your design choices together into a polished, cohesive environment.
Conclusion
Renovating a kitchen or bathroom on a realistic budget does not mean settling for inferior quality or sacrificing design vision. By taking a strategic approach—preserving your original layout, refinishing sound cabinetry and tubs, utilizing remnant stone, and introducing luxury materials as focused accents—you can achieve a high-end look while keeping costs under control.
Focus your spending on certified trade labor for critical mechanical systems and high-durability primary materials, saving on decorative elements and surface finishes through smart shopping and refinishing options. With careful planning, clear priorities, and a commitment to quality craftsmanship, you can transform your home’s most essential spaces into beautiful, functional, and durable retreats that build long-term real estate value for years to come.